
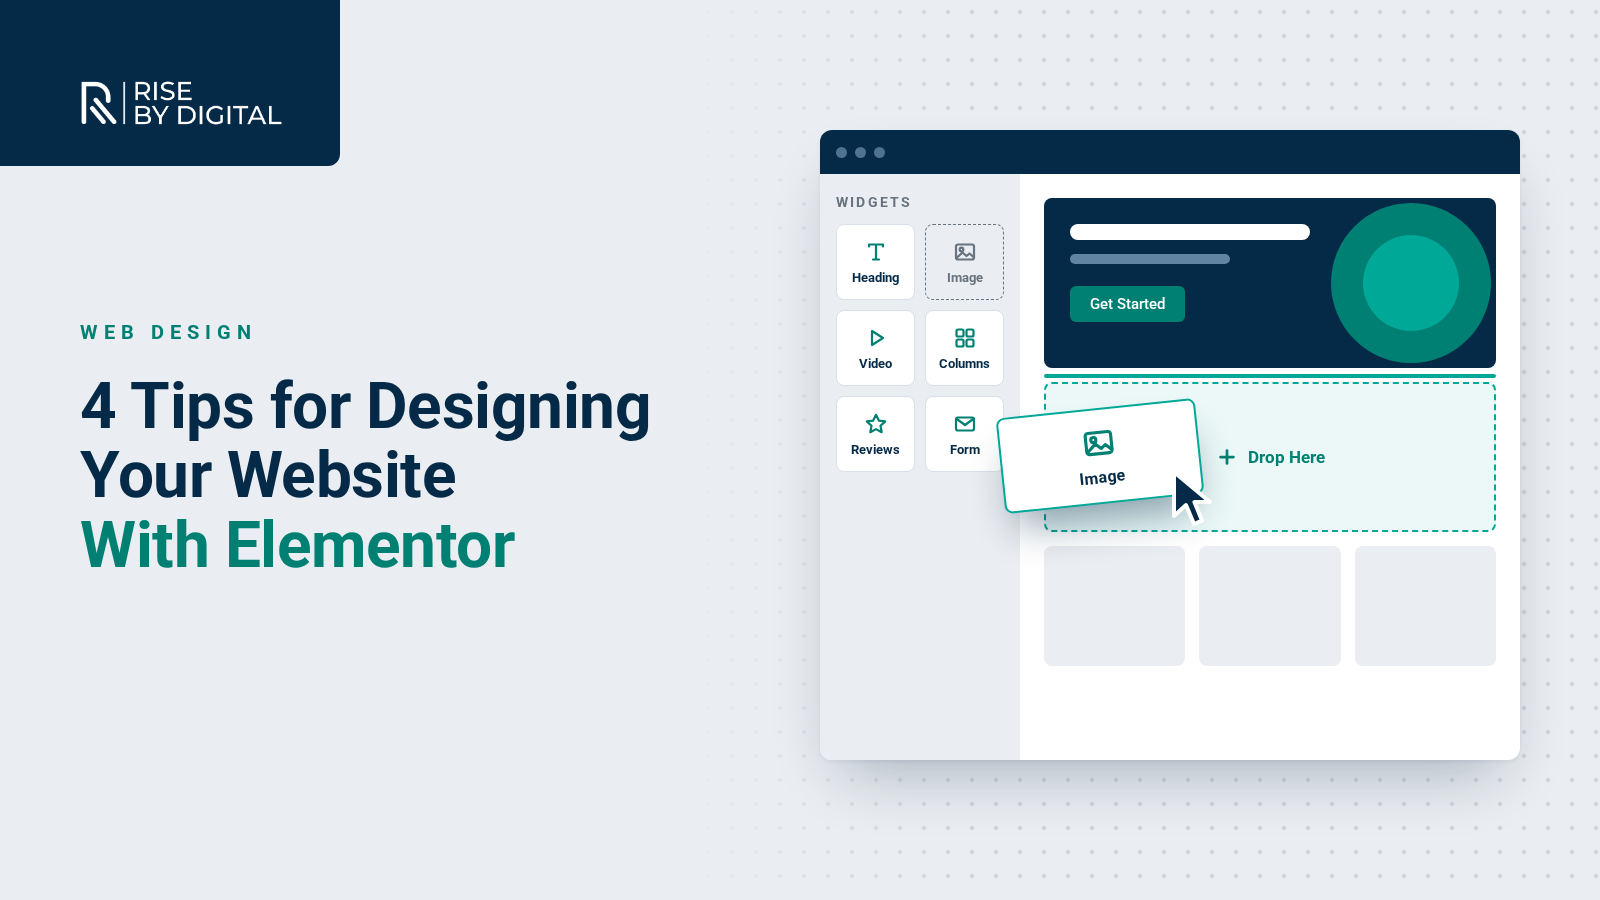
Thinking of building your website with Elementor? These four tips, from setting global styles to designing a custom 404 page, will help you build faster and avoid common mistakes.
Elementor is a powerful website design tool that lets you build great-looking sites on WordPress, and it now powers millions of websites. With that in mind, I thought it would be useful to share a few handy tips that highlight features of Elementor that are easy to miss when you are new to it.
1. Set Up Your Site Settings Before You Start Building
When you start building your website in Elementor, you will quickly notice that every widget you add uses Elementor's default styling. While this is not a major issue, as you can change these settings manually, it soon becomes tiresome when you are changing the font family and colour for the hundredth time across every text box and heading.
Fortunately, Elementor lets you change the styling your widgets use by default. According to Elementor's help centre, you can open these by clicking the Elementor logo in the top toolbar of the editor and selecting Site Settings.
From here, you can set your global fonts and colours, and theme styles for headings, body text, buttons, images and form fields. Adjust these options to suit the design of your site, and they become the defaults used whenever you add new widgets.
It seems like a small change, but it cuts down the time you spend adjusting fonts and buttons, and keeps your design consistent across every page.
2. Use Flexbox Containers to Line Widgets Up Side by Side
A common obstacle when you are working out the layout of a page is placing widgets next to each other horizontally. In older versions of Elementor, the usual approach was to add a section and split it into columns, but columns only allowed percentage widths. On larger screens, that could leave widgets spaced too far apart.
Elementor now uses Flexbox Containers as its standard layout structure, replacing sections and columns for new designs. Containers make this far easier:
- Set the container's direction to row to place widgets side by side.
- Use the gap setting to keep a fixed amount of space between them, whatever the screen size.
- Set widths in pixels, percentages or other units, and control how items wrap on smaller screens.
- Nest containers inside each other to build more complex layouts.
If you are working on an older site built with sections and columns, it is worth rebuilding key pages with containers when you next update them. They give you more control and usually produce cleaner, faster pages.
3. Save Time by Converting Widgets Into Globals
Do you use the same widget across several pages of your site? If you have Elementor Pro, consider converting it into a global widget so you can update it everywhere at once. For example, say your 10-page site has a contact form at the bottom of every page.
The normal approach would be to create and configure each form separately. But if you later wanted to change the email address the forms send to, you would have to edit all 10 forms one by one. That takes time and can easily lead to inconsistencies.
Instead, create your form and save it as a global widget. Right-click the widget's handle, choose Save as a global, give it a name and save it.
When you need to add the form to another page, you will find it in the Globals tab of the editor panel, ready to drag and drop. Any changes you make to the global widget are applied to every instance across your site.
4. Don't Forget About Your 404 Page!
A 404 page is the page visitors see when they land on a web address that does not exist on your site. In an ideal world, nobody would ever reach one, but broken links and mistyped addresses make it impossible to prevent entirely. A helpful 404 page that points visitors back to the rest of your site can stop them leaving altogether.
Elementor Pro's Theme Builder lets you design your own 404 page. As Elementor's guide explains, go to Templates > Theme Builder in your WordPress dashboard and choose Error 404. You can then build the page in the Elementor editor, or start from one of the ready-made templates. When you publish it, set the display condition to the 404 page.
Include a clear message, a search bar and links to your most important pages, such as your services and contact page, so visitors can quickly find what they were looking for.
These are just a handful of features worth knowing about if you choose Elementor for your next website project. If you would like advice or help with Elementor, or with website design in general, our team would be happy to help. Call us on 01509 357412 or request a quote below.